

Mastering the Art of Mortise and Tenon Joints in Woodworking
Posted on April 08, 2024
Today, let's dive into the timeless art of creating a classic and sturdy joint in woodworking - the mortise and tenon joint. Whether you're a seasoned woodworker or just starting out on your DIY journey, mastering this joint will undoubtedly level up your woodworking game.
What is a Mortise and Tenon Joint?
The mortise and tenon joint is a traditional woodworking joint that involves joining two pieces of wood mostly at a right angle but not always the case. It consists of two parts: the mortise (a square or rectangular hole) and the tenon (a corresponding protrusion on the end of another piece of wood).
As far as wooden garden benches are concerned you will most likely find that the mortice or hole is loctated on the larger parts of the wooden frame and the tenon part is located on the protrusions such as arms and legs.
Tools and Materials You'll Need:
- Wood pieces to be joined
- Marking tools (pencil, marking gauge)
- Chisel
- Mallet
- Tenon saw or handsaw
- Square
Step-by-Step Guide: Crafting a Mortise and Tenon Joint
- Mark Your Pieces: Begin by marking out the location of the mortise and tenon on the respective pieces of wood. Use a marking gauge to ensure precision.
- Create the Mortise: Secure the wood piece containing the tenon and use a chisel and mallet to carefully remove the material to create the mortise. Take your time to achieve a clean and precise fit.
- Cut the Tenon: With a tenon saw or handsaw, carefully cut the tenon on one end of the wood piece. Make sure the tenon fits snugly into the mortise.
- Test Fit and Adjust: Test fit the tenon into the mortise. It should fit snugly without being too tight. Make any necessary adjustments for a perfect fit.
- Glue and Assemble: Apply a quality wood glue to the joint surfaces and carefully assemble the mortise and tenon. Use a square to ensure the joint is at a perfect right angle.
- Let it Set: Allow the glue to dry completely as per the manufacturer's instructions. Once dried, your mortise and tenon joint is ready to withstand the test of time.
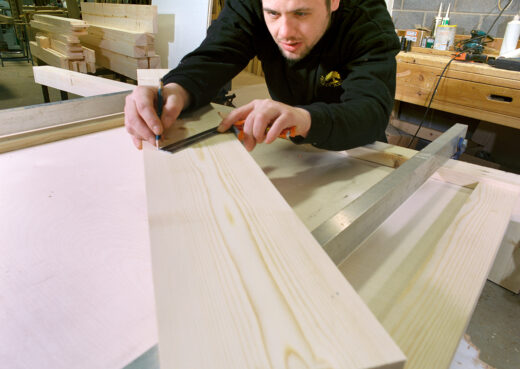
Mark Your Pieces of wood
To get started, grab your pieces of wood and mark out the precise locations for the mortise and tenon. A marking gauge is your best friend here, ensuring that your measurements are spot-on for a perfect fit.
Click on the pictures to enlarge
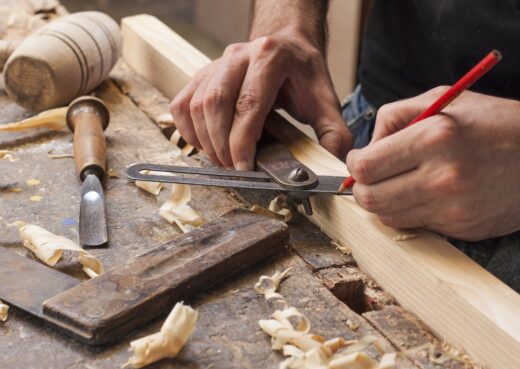
If you are making the joint at a right angle then you can use a fixed right angle marking guage. Otherwise, if your joint is at an irregular angle then an adjustable marking guage can be used set at the desired angle. Make sure your piece of wood that will house the gap or mortise is thick enough not to split or break when pressure is applied over time. We recommend that the wood is at least three times as thick as the hole that you are making.
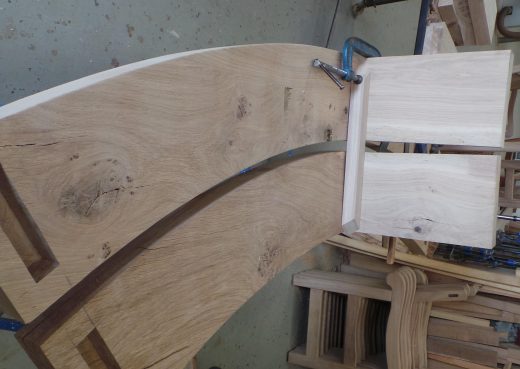
Create the Mortise
In simple terms, a mortise refers to the rectangular hole or cavity that is created in a piece of wood. This hole is specifically designed to receive and hold another piece, known as a tenon. The process of creating a mortise involves carefully cutting or chiseling out the desired shape and dimensions in the material. This requires skill, precision, and attention to detail.
Click on the pictures to enlarge
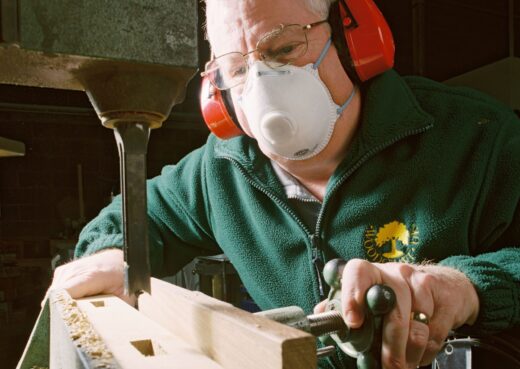
We find the best may to approach this is to create the mortise first. That way you then have more control over adjusting the tenon to fit the mortise. If you are constantly chiselling away at the mortise to house the tenon then you could cause too much pressure on the wood and break it. Should the tenon part of the arms or legs break, then they can not only be fixed with dowling and wood glue but if you have to replace those parts then they will generally be a smaller piece of wood to replace than the frame that houses the mortice. Breaking the mortice can also send you back to square one with the amount of work you might have to do again.
Cut the Tenon
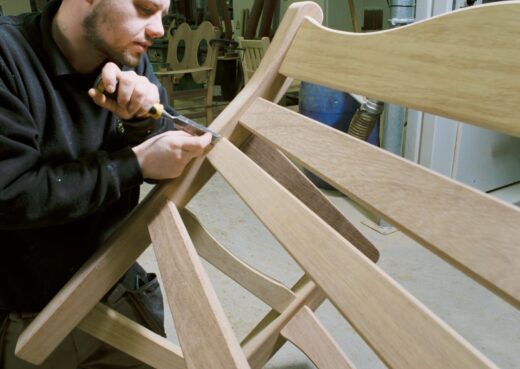
Once you've marked out the spots, it's time to get cutting. Carefully shape the tenon to slide snugly into place. This the "key" or "male" part of the joint. Take your time and double-check your work for that precise fit. Use a saw and chisels to shape the tenon or for a more precision finish use a bandsaw that can cut to the nearest millimetre.
Click on the pictures to enlarge
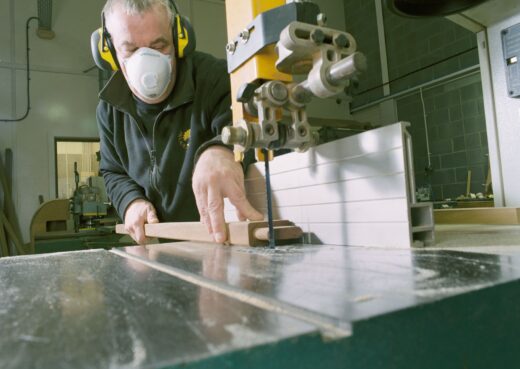
You should aim for your tenon to have a snug fit with the mortise part of the joint so always start with the tenon being too big and slowly shave off the excess until it can be tapped in with a mallet.
Test Fit and Adjust
Begin by test-fitting the tenon into the mortise. The fit should be snug but not too tight. You want it to slide in smoothly with a bit of resistance but without forcing it. If the tenon is too loose, consider making adjustments to ensure a tighter fit. This could involve trimming the tenon slightly or adjusting the mortise to achieve the desired fit.
Click on the pictures to enlarge
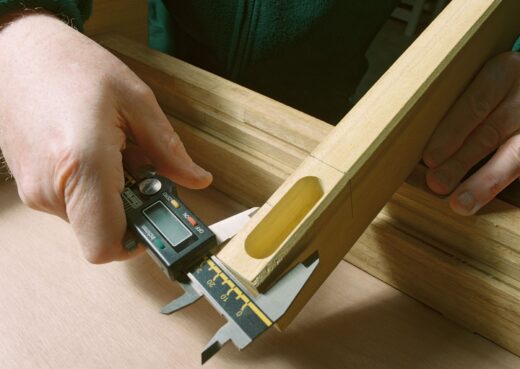

Patience is the key here so take your time with this step. Precision and patience are crucial when aiming for a perfect fit. Don't rush the process; instead, focus on making gradual adjustments until you achieve the ideal fit.
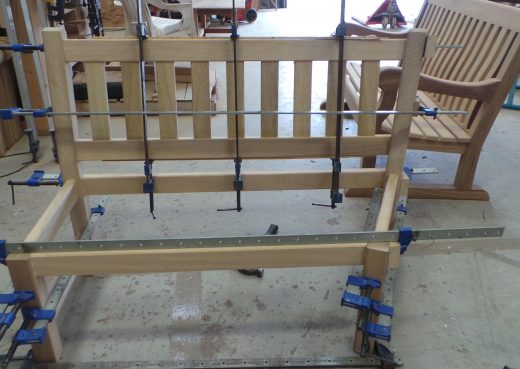
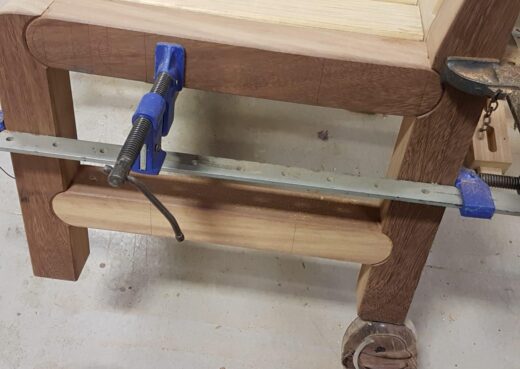
Glue and Assemble
Apply a reliable wood glue to the surfaces of the joint you're working on. This step is crucial for ensuring a strong bond that will stand the test of time.
Carefully bring together the mortise (the slot) and the tenon (the protrusion) of your pieces.
Click on the pictures to enlarge

Precision is key here, so make sure everything aligns perfectly. A handy tip is to use a square to check that your joint is forming at a flawless right angle. This simple tool can make a world of difference in achieving a professional finish.
Let it Set
It's crucial to allow the glue to dry thoroughly. Follow the manufacturer's instructions to the letter – patience is key here!
Click on the pictures to enlarge
As the glue sets and cures, your mortise and tenon joint will bond seamlessly, ensuring a durable connection. The result? A strong, reliable joint that can support various structures and furniture pieces.
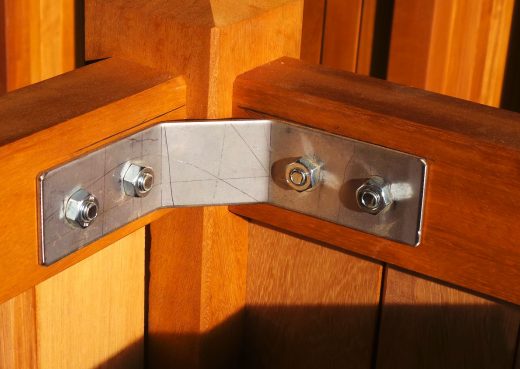
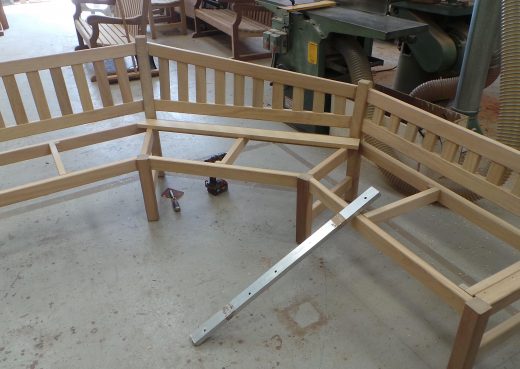
Strengthening your mortise and tenon joints
A couple of ways you can strengthen your joints is by adding brackets where the eye cannot see so the perfect place is where the bench leg meets the underside of the seat. You can buy steal brackets from any DIY shop or just make some with a small block of wood, drilled and bolted on to the two pieces of wood where they meet.
Click on the pictures to enlarge
Remember, the key to a sturdy joint lies in the details. So, take it slow, follow your markings, and before you know it, you'll have a professional-quality mortise and tenon joint ready for your next woodworking masterpiece!
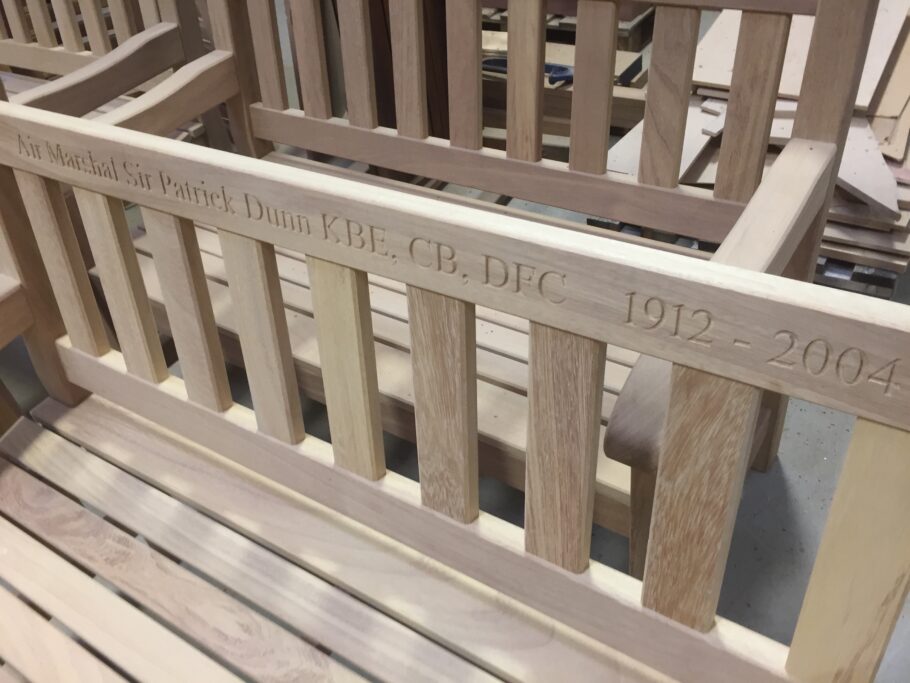
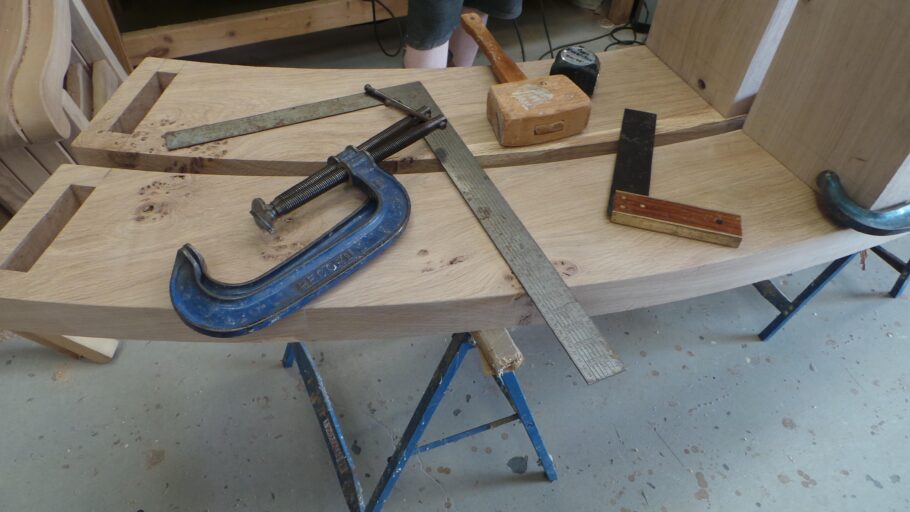
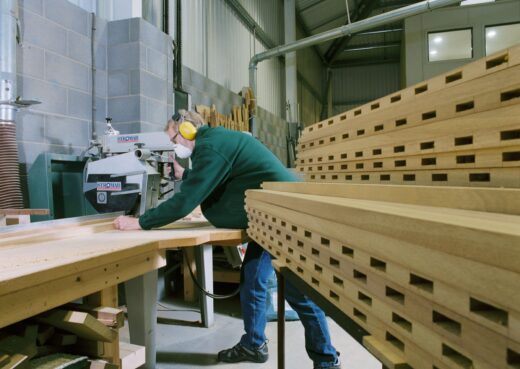
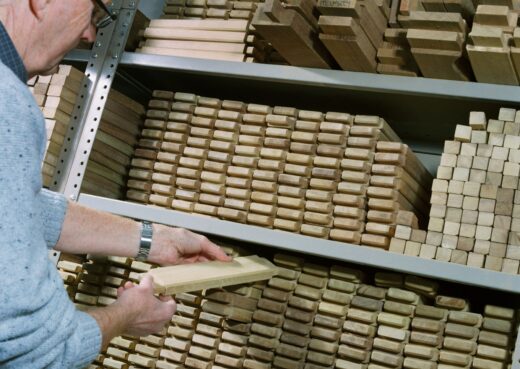
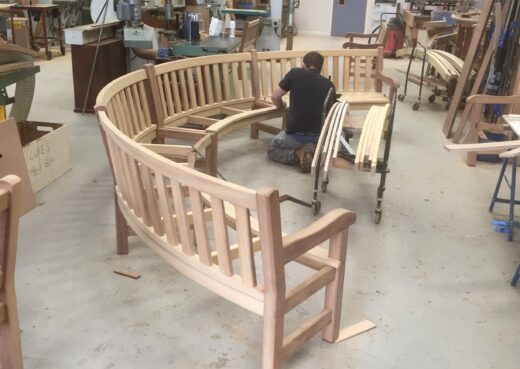
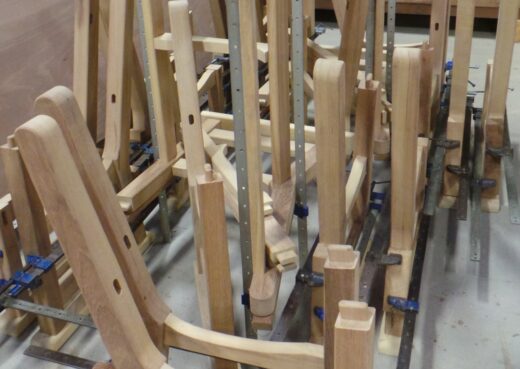
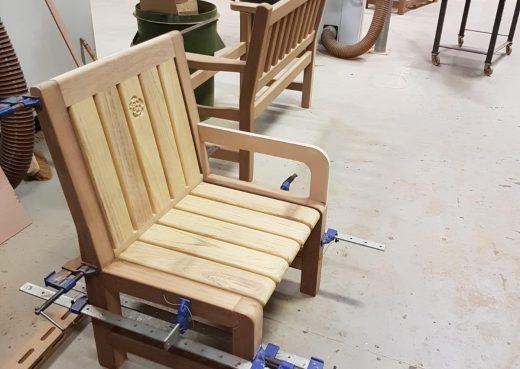
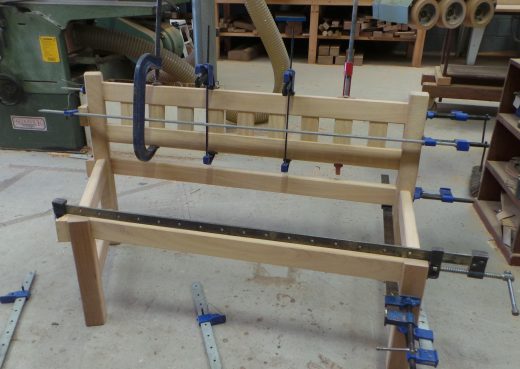
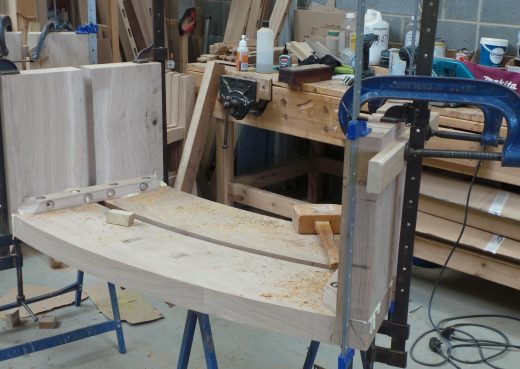
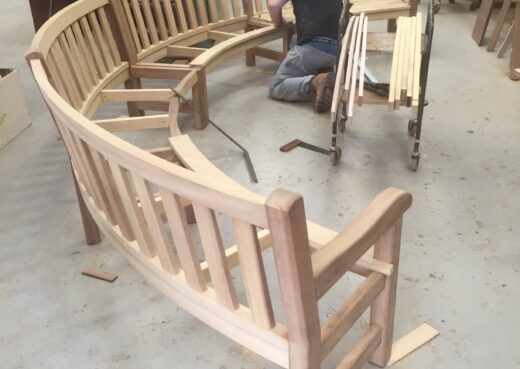
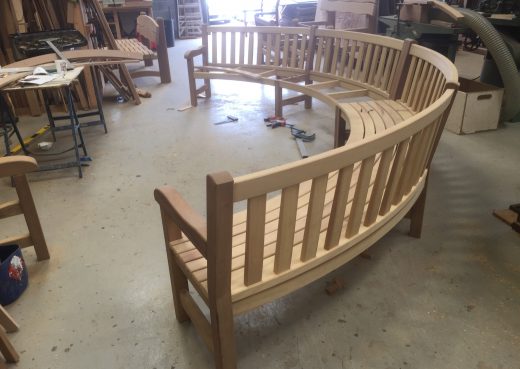
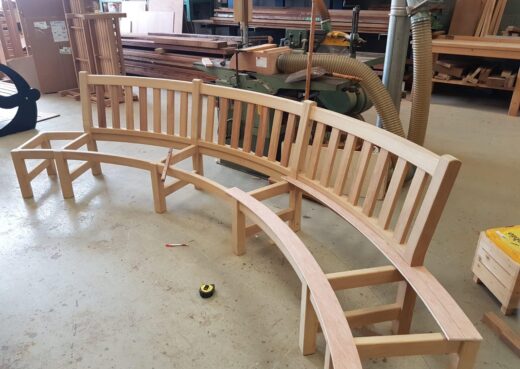
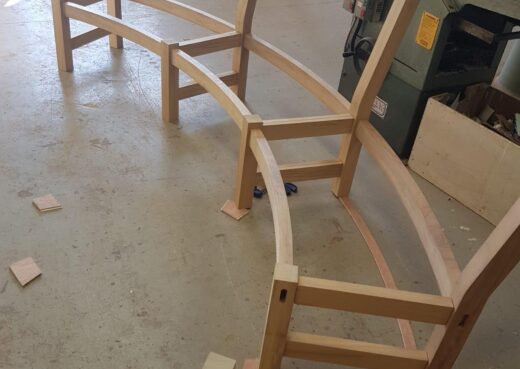
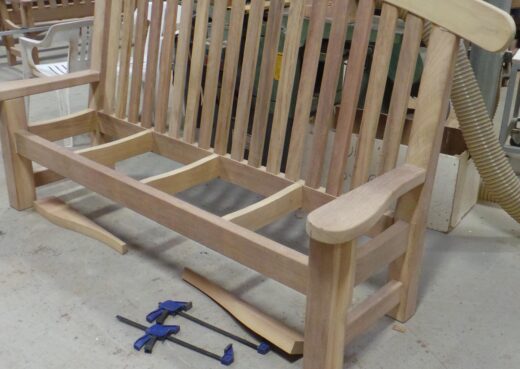
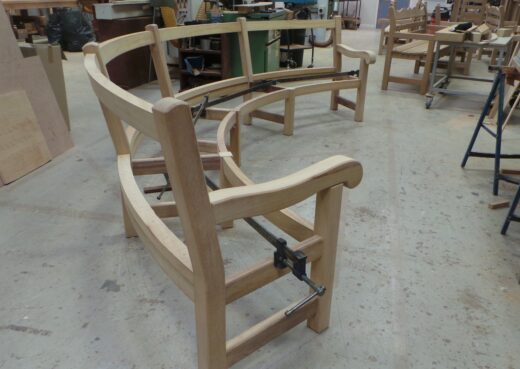
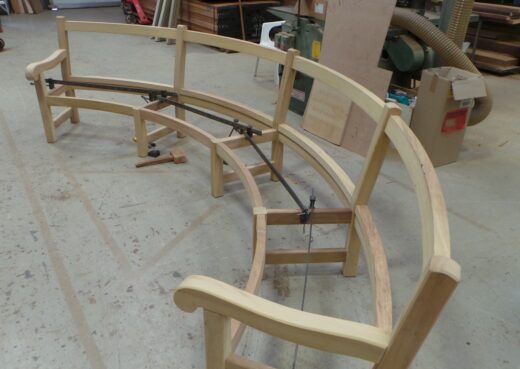
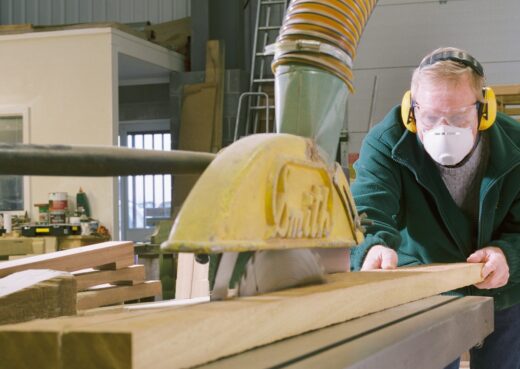
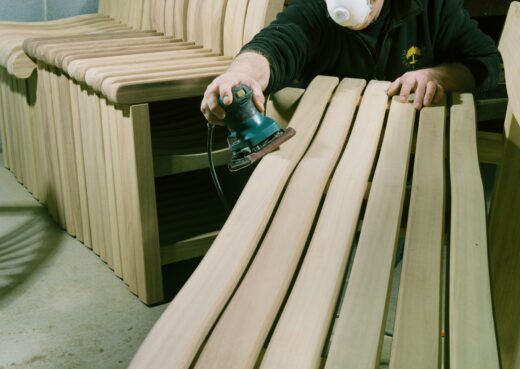
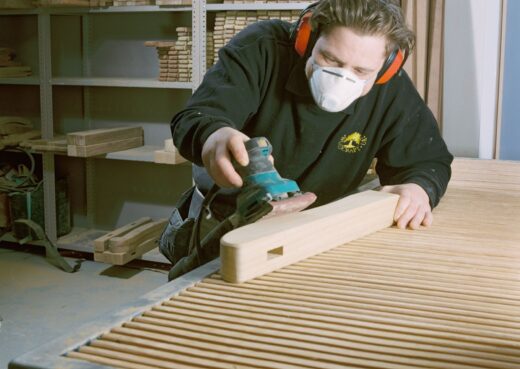
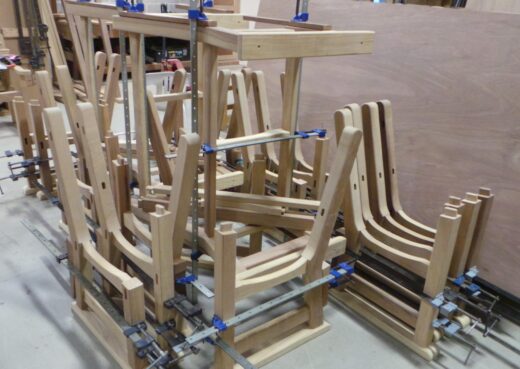
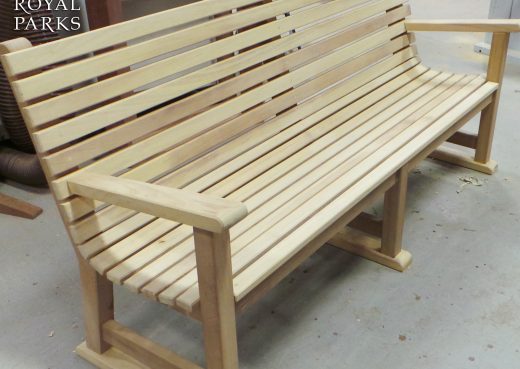
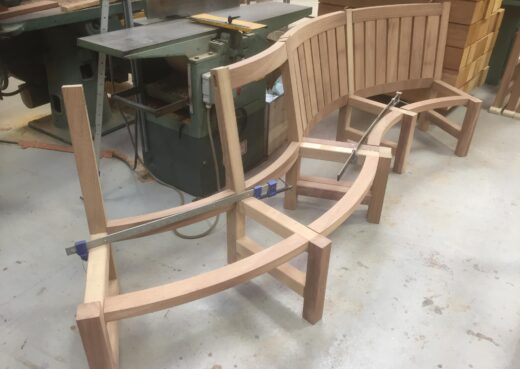
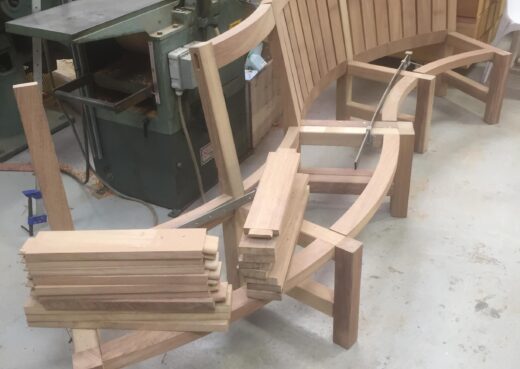
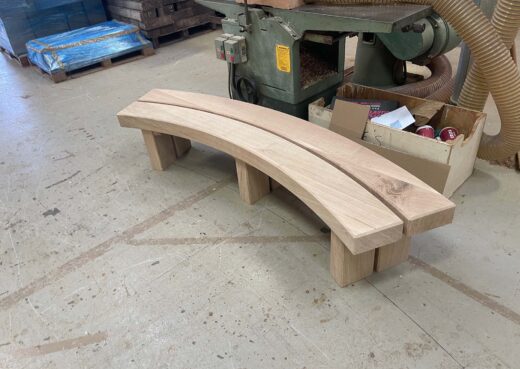
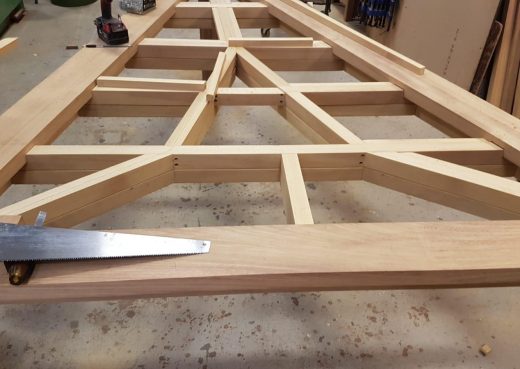
Our benches during the production process
Here is a gallery of pictures showing some of our benches at various stages of production. Hopefully these pictures can act as a bit of a guide to show you how a professional woodworking manufacturer hand crafts our benches.
Click on the pictures to enlarge


Crafting a mortise and tenon joint is not only a practical woodworking skill but also a beautiful display of craftsmanship. The strength and elegance of this joint make it a favorite among woodworkers for various projects, from furniture making to structural work.
So, grab your tools, select your finest wood, and embark on the journey of creating impeccable mortise and tenon joints in your woodworking projects. The satisfaction of crafting a joint that stands the test of time is truly unmatched in the world of woodworking. Happy crafting!


